Showing posts with label Recipes. Show all posts

Sunday, April 15, 2012

Roast Chicken

This is seriously the best roast chicken recipe I have ever tried or tasted.  I can't take all the credit.  I adapted it from Ruth Reichl's recipe.  It is featured in her third book, Garlic and Sapphires, which I am now reading.  Yes, I am continuing my obsession with Ruth.

So, these are the ingredients you will need (plus some butter):
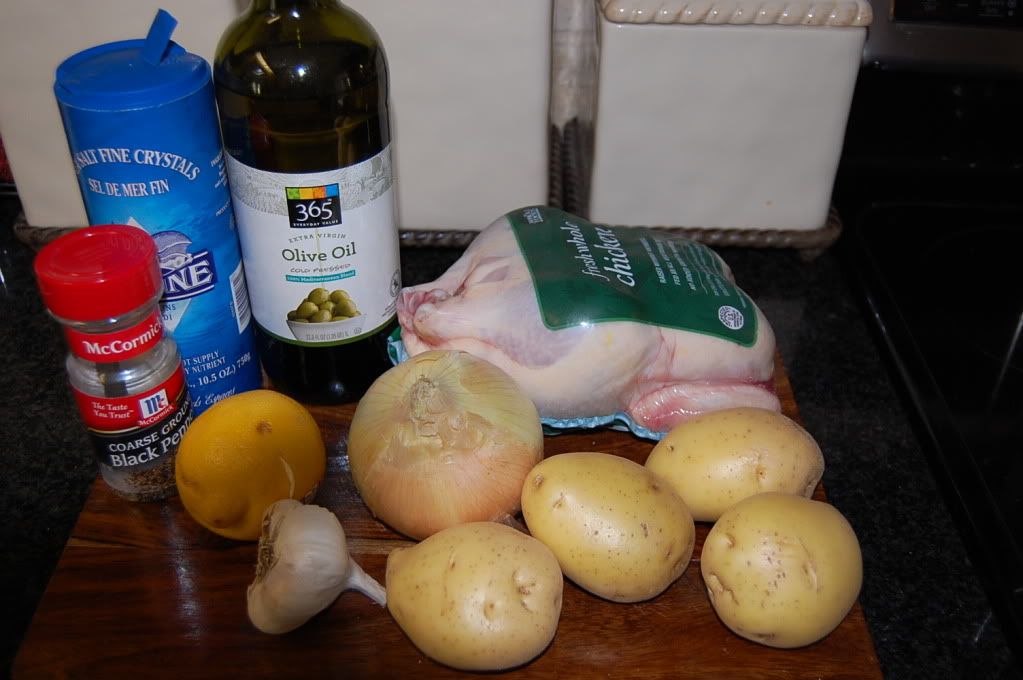
You will need a roasting chicken (3 1/2 pounds or so), 1 lemon, olive oil, 4 medium potatoes, 1 onion (cut into pieces) and 4 garlic cloves (unpeeled). Preheat the oven to 400 degrees. Now, wash that chicken (NOT with soap, mind you,, just rinse it with water) and pat it dry. I hate peeling potatoes, so I just got some white ones (or you can just red ones) and cut each into about 8 pieces and leave the peel on them.

Now, melt some butter (do not make it too hot, just a little warm). Gently rub your fingers between the breast and the skin, and load in some butter and then dump in that butter so it oozes all over inside the chick. The instructions say, quite emphatically, not to puncture the skin. I am not sure what happens if you do. So, try not to. Admittedly, it made me want to puncture it just to see what would happen. I am not that daring though.

DO NOT FORGET to take out the packet of innards that they now package inside the little chicken. I throw those away. If anyone has another suggestion, I am all ears. I just don't even want to look at it (a good farmer, I would not make). Once your chicken is buttered inside (this allows the chicken to baste itself while it is cooking), salt and pepper the chicken all over it and inside the cavity.

Take your lemon and poke holes all over it with a fork. Then, place the lemon inside the chicken.

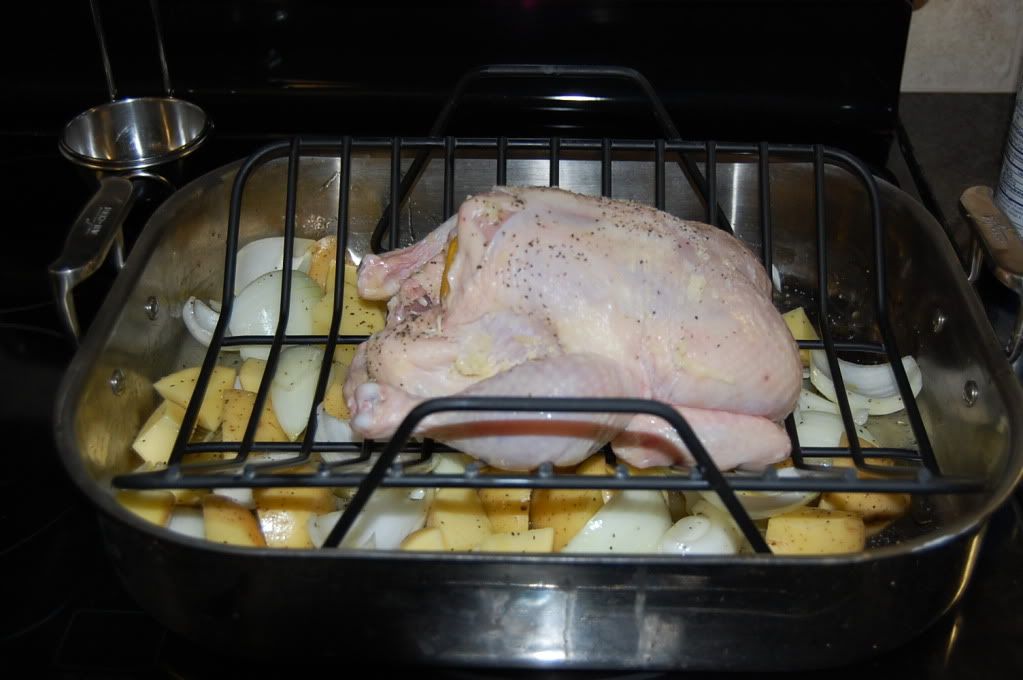
In a bowl (I just did this step in the bottom of the roasting pan and it was fine), put the garlic, potatoes and onions. Drizzle them with salt and pepper and olive oil. Coat the veggies with the oil so each piece is coated. If you have a rack, place the chicken on top of the rack (otherwise, just put the chicken right on top of the vegetables). It should all look something like this:
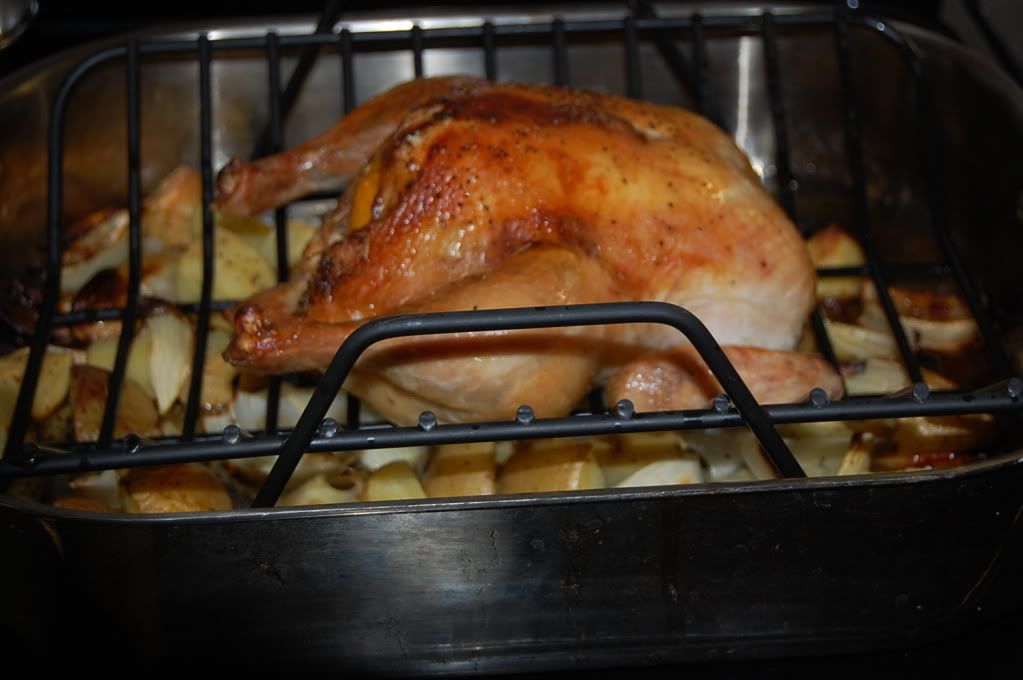
Place this in the oven for about an hour and fifteen minutes. And, it should look something like this.

Remove the pan from the oven and let it rest for 10 minutes. Carve the chicken into serving pieces, surround with the veggies and squeeze the baked lemon over the top. It was so incredibly juicy and tender and just wonderful!! Enjoy!

His and Hers Tomato and Mozzarella Salad

I love to make tomato mozz salad every once in a while, rather than the regular greens.  One night, I cut up the tomatoes and sliced the mozzarella to discover that I did not have any balsamic vinegar.  At first, I freaked out a little.  I then googled "substitutes for balsamic vinegar" and discovered there is generally NO GOOD substitute.  I then freaked out a little more. 

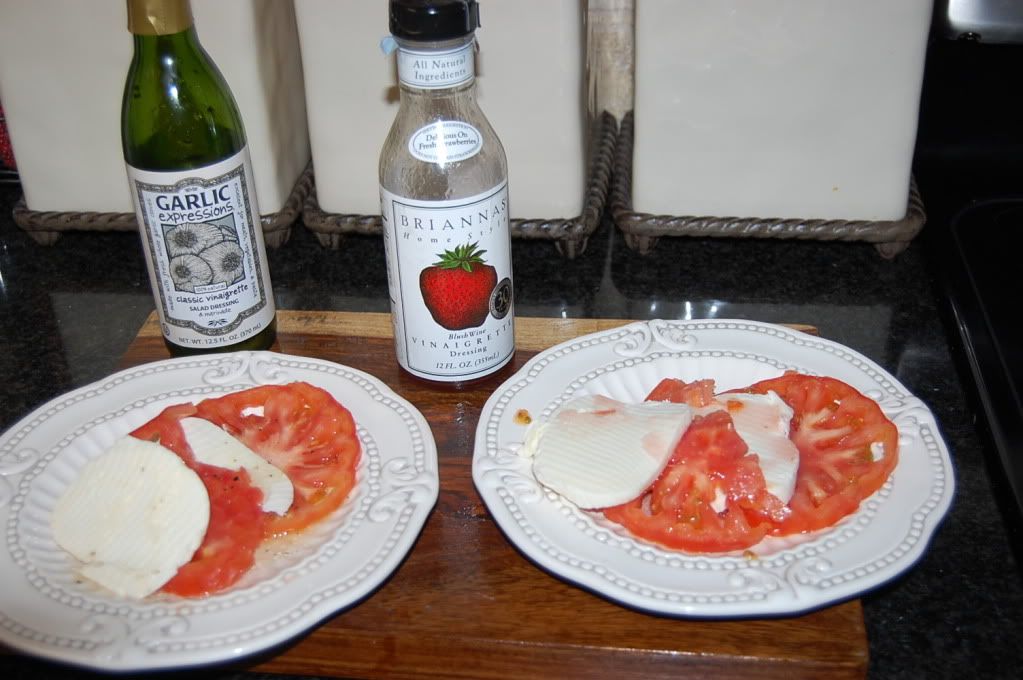
Then, I remembered my favorite vinaigrette.  It is this wonderful bottled blush wine vinaigrette I stumbled on recently.  It claims it is very good over strawberries (which sounds sort of unsavory to me).  I thought it might just be great to drizzle over the sad, lonely, parched tomato and mozzarella. 

Well, I informed Arnnie of the change in plan.  Before I drizzled my lovely vinaigrette on his little salad, he asked me to please refrain and drizzle HIS favorite garlic dressing over his.  We both loved them so much that this has become our new way of making these great little salads.  See below:

Now, if you want to make a traditional caprese salad (the fancy term for tomato and mozzarella), just put a few sprigs of basil on top and drizzle both olive oil and balsamic vinegar. But, this his and hers variation is a really big hit at our house. Oh, and for those of you out there who want to make your own homemade salad dressing, just put in 3 parts olive oil to one part balsamic vinegar and crush in any type of berry you like best. I can't take credit for that. My friend, Kathleen, taught me that those long years ago when we lived together in Wheeling in that house I love on Howard Hill (before I left for law school and got all serious with life, sort of). I guess we did do some productive things in that house even though our schedules seemed to revolve mostly around what time we would meet at the Alpha or TJ's for drinks.  Ah.  Those were the days (that will, most definitely, not be part of another post!).

Saturday, April 7, 2012

Ruth Reichl and Lemon Pudding Cake

I am currently obsessed with Ruth Reichl's books.  She was the last editor of Gourmet magazine and is a former restaurant critic for the L.A. Times and the N.Y. Times.  Her books are autobiographical and wonderful!  She has a wonderful little website where she blogs and has information regarding upcoming appearances and the books she has written.

Her first book that I recently finished is Tender at the Bone. 


It was wonderful.  It started in her youth.  She talks about all of the people who influenced her obsession with food.  The book ends when she is in Berkeley and is becoming a part of the farm to table movement made famous by Alice Waters and Chez Panisse.  I couldn't put it down.  She is honest to the core about her faults, transgressions, neuroses.  It also makes you feel like you are sitting in a room with here reliving her life. 

But, the most interesting thing is that she has included recipes in the book as she goes.  After she talks about a recipe she made based on what she was going through in her life or what was troubling her at that time, she then gives the reader the recipe.  Now, not all the recipes are things I would try.  But, there was one I tried this morning.  It was the Lemon Pudding Cake.  I made it and have to admit, it is really very good.  If you like lemon meringue pie, then this is for you.  It is much lighter than pie and is perfect for a very light dessert.  I will admit that while I made it in a pan, I think it would be great to make in individual ramekins topped with a little chopped strawberries mixed with a pinch of sugar placed on top of the cake.  In fact, here is a nice little you tube Gourmet video providing helpful instruction on exactly how to make one.

I started Ruth's second book, Comfort Me with Apples, yesterday, and I am almost done with it.  It starts where Tender left off.  I intend to read all of her books, one right after the other.  She is that good!

Sunday, March 25, 2012

Banana Bread

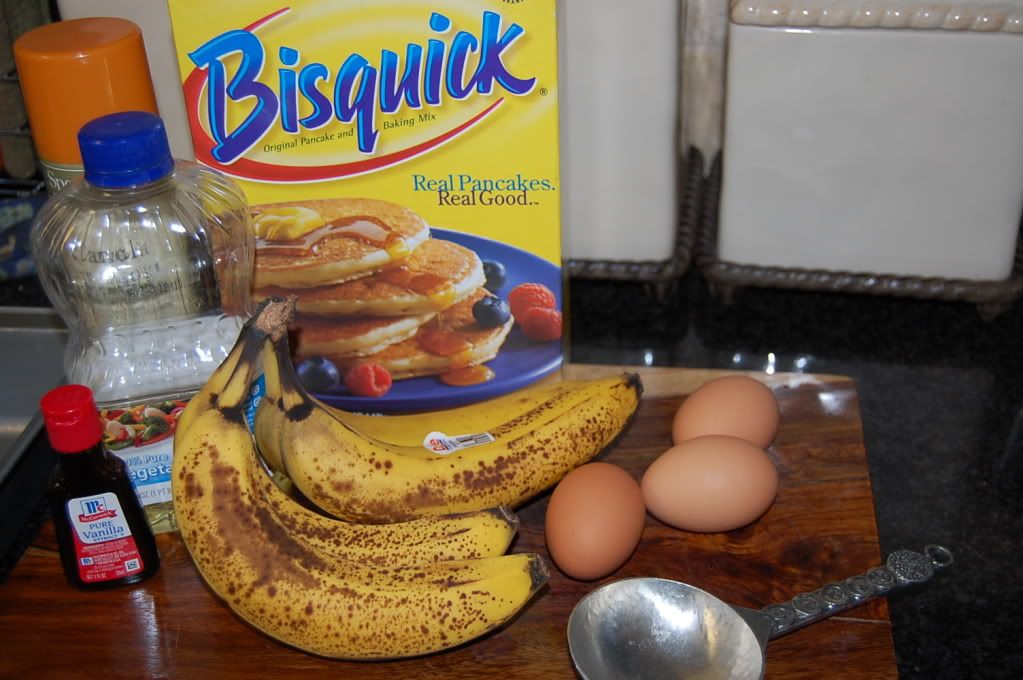
I had four little soon to be beyond ripe bananas.  So, when that happens, I usually make banana bread.  Here are the ingredients.


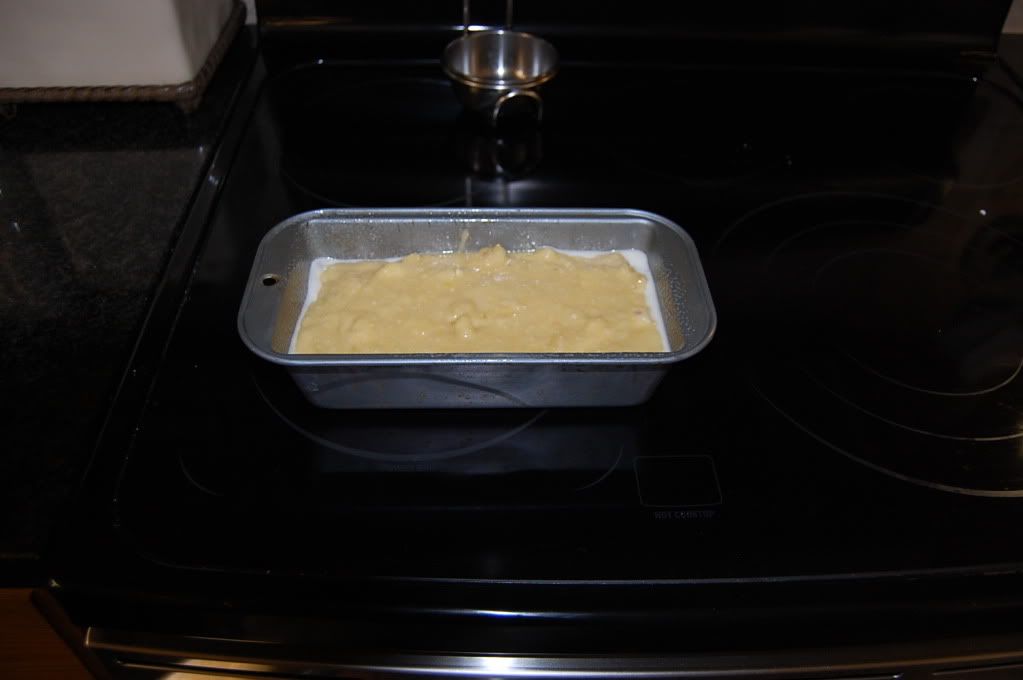
Well, the picture doesn't contain the sugar, but you get the idea (and full recipe is below).  Once you mix all the ingredients, pour it into a bread pan. Just like this:


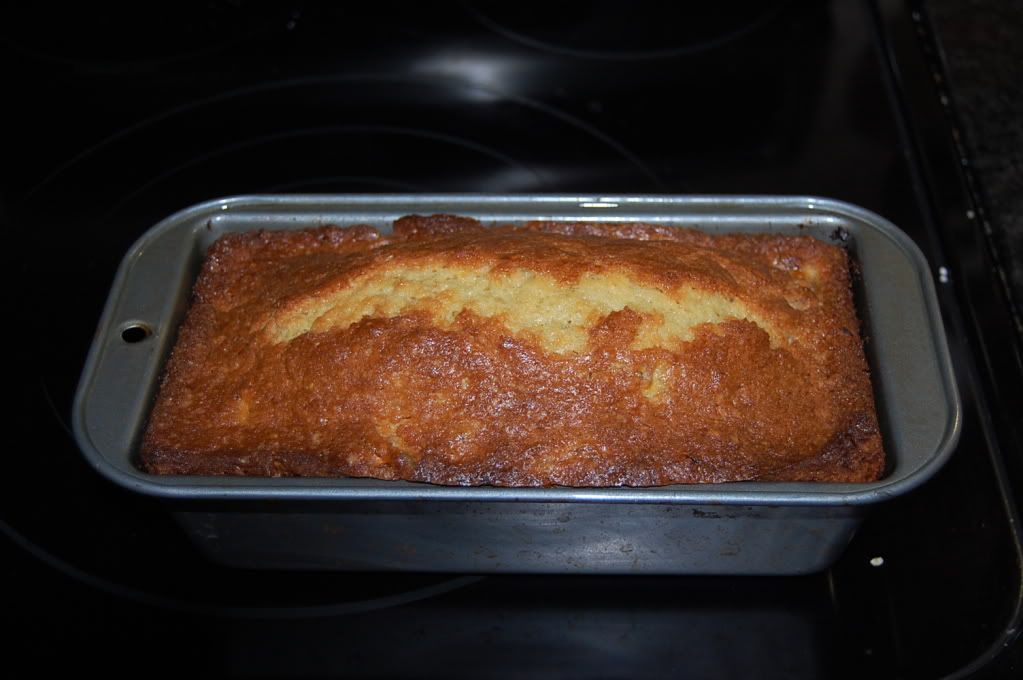
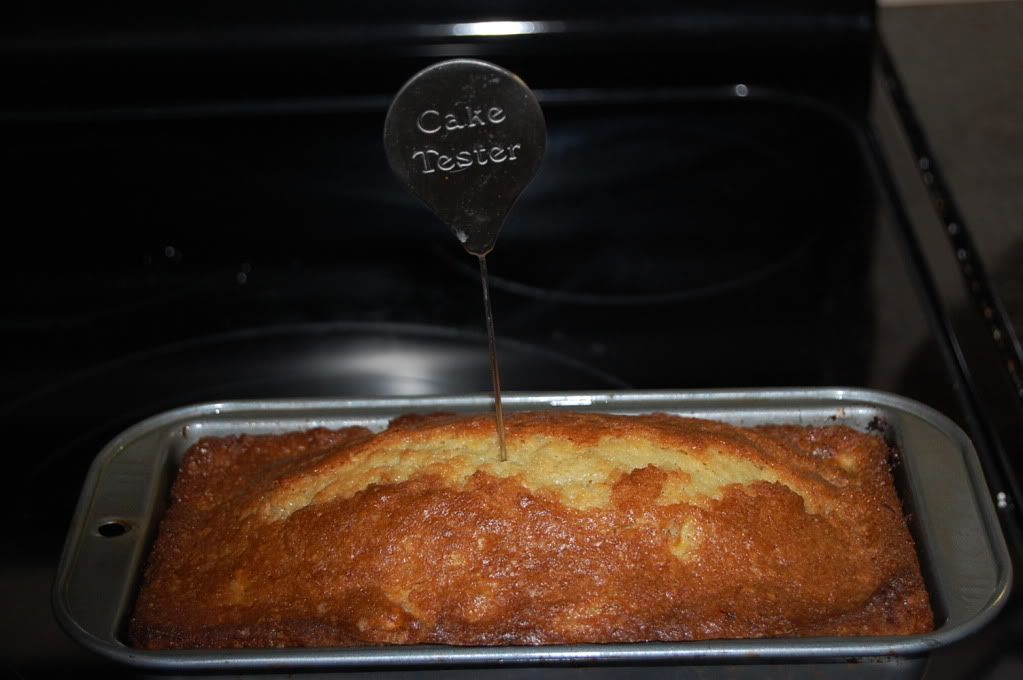
Then, once it is done, it looks like this:

And, test it with your cake tester. I love this thing. You can buy this cake tester for around $5 from Amazon.  It is much better than the standard toothpick test.  It never fails! 


Recipe for Banana Bread:

2 1/3 cups bisquick
3-4 ripe bananas, mashed
1/3 cup vegetable oil
1/2 teaspoon vanilla extract
3/4 cup sugar
3 eggs
1/2 cup chopped nuts (optional) or even chocolate chips (chocolate is always a hit in this bread)

Mix all ingredients.  Pour into a small loaf pan.  Bake at 350 degrees for about an hour.

Ranch Style Chicken (compliments of the Pioneer Woman)

I love the Pioneer Woman..  I think she has some of the best recipes.  I love her blog.  I want her blog.  But, I have NO idea how to create anything like this.  I have seen the website for her web designer (OMSH - Oh My Stinkin' Heck).  Her web designer says she can do your design, too.  However, her price is a bit high for my liking at this moment.  But, she does some fabulous designs, I think!  Maybe, one day....  So, it will have to suffice to continue trying those great recipes like Ranch Style Chicken, adapted from the Pioneer Woman's great recipe!


For two:

2 chicken breasts
1/2 cup honey
1/2 cup dijon mustard
4 slices of bacon
dash of red pepper flakes
dash of Canola oil
1/2 cup shredded cheddar cheese

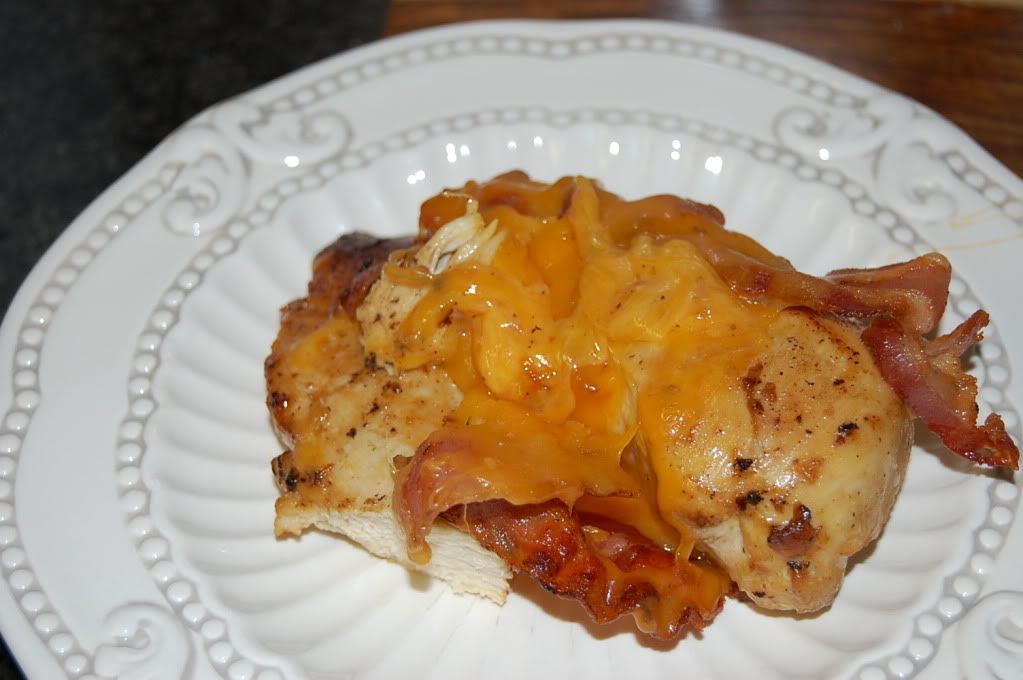
Mix together the honey and dijon. Splash in a few pepper flakes. Pour onto the chicken and place in fridge for 1-3 hours. Fry the bacon. Keep about 1/2 the bacon grease and add a little canola oil. Place the chicken in the pan and pan fry each side a few minutes. Flipping each a few times. Then place the chicken on a baking sheet. Bake at 350 degrees for about 30 minutes. During the last 5 minutes of cooking, place the bacon and cheese on top of each chicken piece. Bake until cheese has melted. Serve.

You can also easily place these on a bun for an on-the-go meal. Alternatively, I believe Arn warmed a tortilla wrap, put a little ranch on it, and then wrapped the chicken up in it and took it down to his basement where he was watching some sports-related event.

Sausage Balls

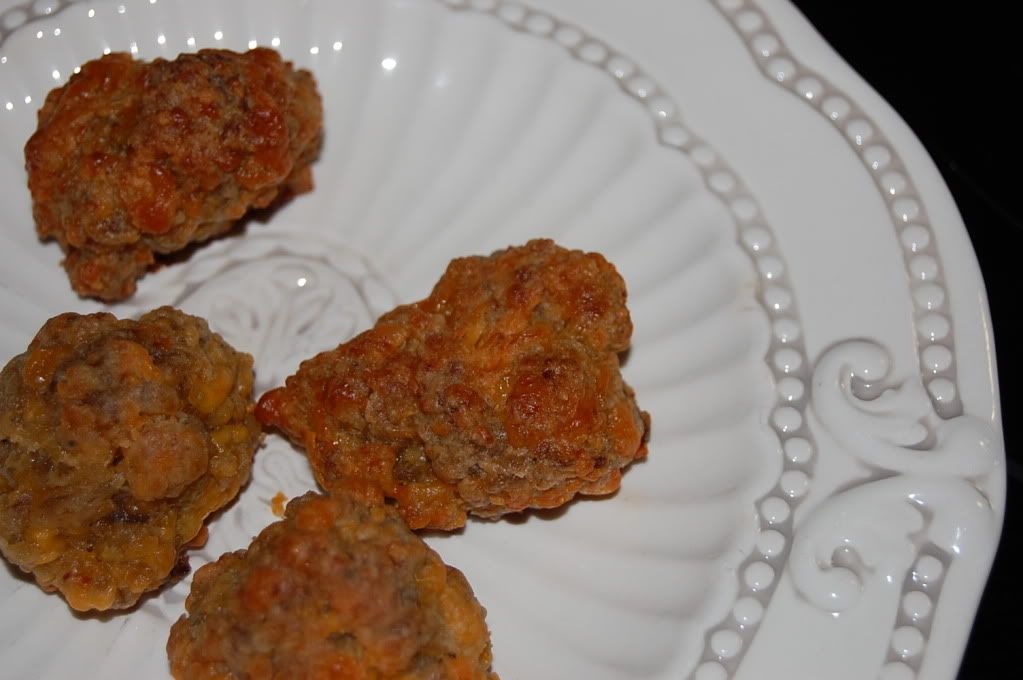
I love these things. They are not good for you. But, they are really good. My grandmother made these. I first ate them at her house. I remember immediately loving them! As I have gotten older, I don't make them often. I also keep them in the freezer so that I can just pop out a few at a time. I just eat two. And two of these are certainly better than that sausage biscuit from the McDonald's drive-thru.


They are super easy!

2 cups bisquick
4 cups shredded cheddar cheese
1 pound sausage

Mix all the ingredients together and form into walnut-shaped balls. Line them on a baking sheet. Bake at 350 degrees for about 20-25 minutes. Enjoy!

Sunday, March 11, 2012

Sunday Night Dinner: Honeybaked Ham, Potato Salad and Baked Beans


Tonight was one of those dinners that, after eating, Arn said, "SO DELICIOUS, Cyn." One thing I love to do is buy a honeybaked ham. I do this every few months or so. I then always make potato salad and baked beans.  Oh, I also love to buy those little Hawaiian rolls.  We then have ham sandwiches, ham omelettes and anything ham a lot.  I usually freeze some of the ham.  We always use some leftover ham and the hambone to make ham and beans in the crockpot.  That will be a later post.

So, now, for the potato salad (enough for four large servings):

7-8 Fingerling potatoes (or just small red new potatoes)
3 tablespoons mayonnaise
2-3 squirts of yellow mustard
6-8 sweet gherkin pickles, diced
salt
pepper

Boil the potatoes until semi-soft to the touch of a fork.  Drain the potatoes and run cold water on them.  Let them cool.  Once cool, place them in a bowl.  Fork through them just enough to mash up a little bit.  Add the mayo, mustard, pickles and salt and pepper to taste.  Refrigerate and serve cold.

For the baked beans (enough for four servings):

One can of pork and beans
1/4 cup ketchup
2 heaping tablespoons of light brown sugar.

Mix all ingredients together in an oven-proof dish.  Bake at 350 degrees for 30 minutes.

Sunday, March 4, 2012

Chicken with Tomato Parmesan Sauce


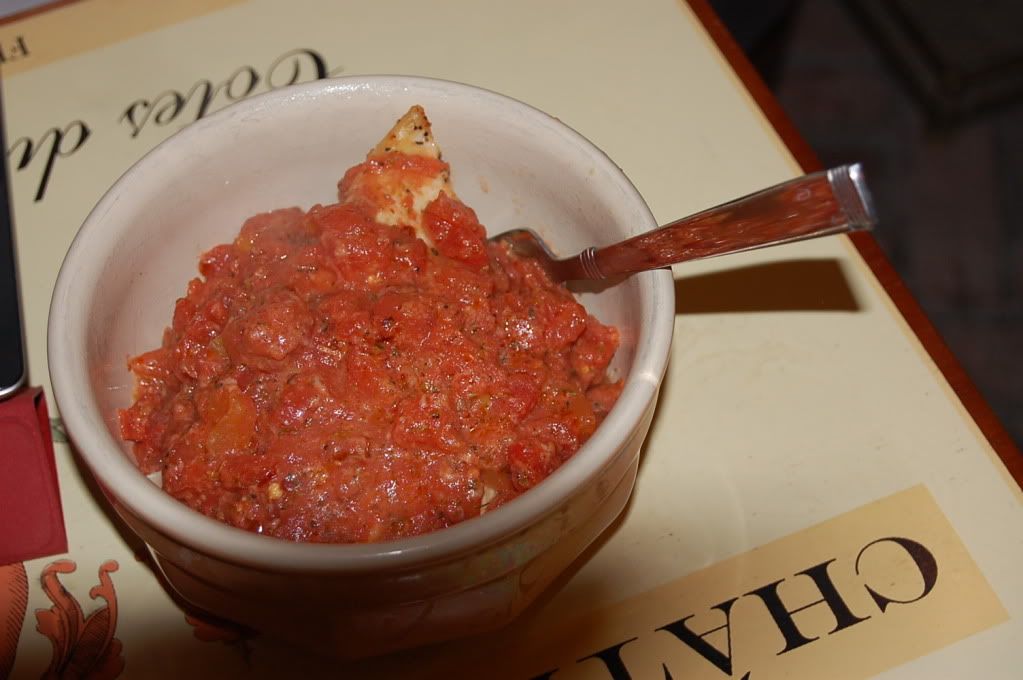
This is Arn's favorite chicken dish. It is fast and easy enough to do on a weeknight. It is also enough to just serve alone for dinner. No need for any sides so it is really a one-dish dinner.


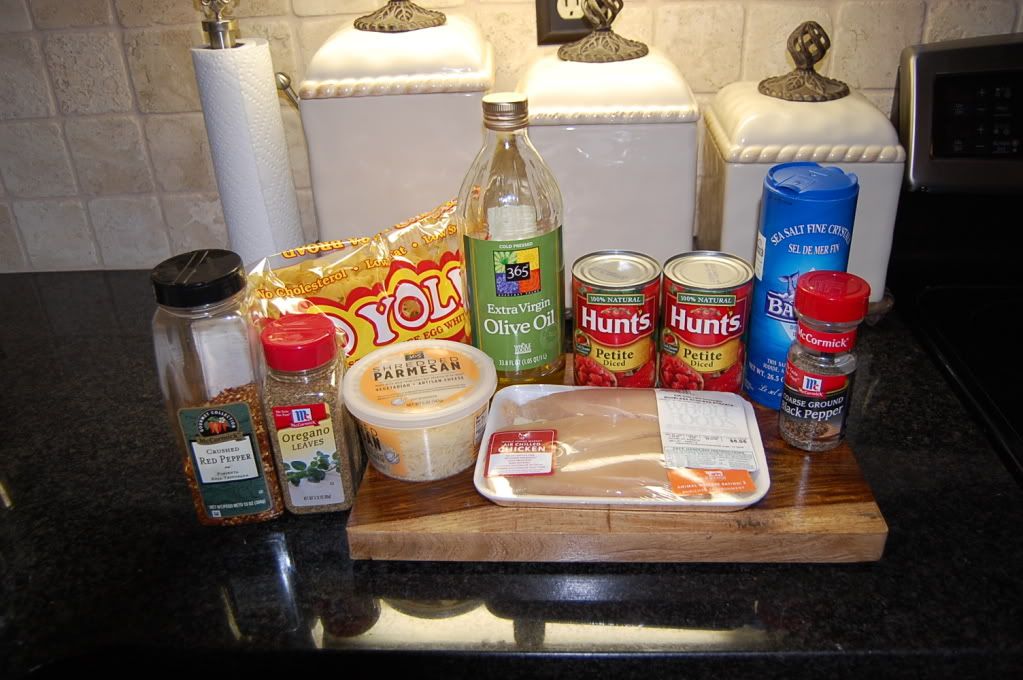
This is what you need to get started: package of chicken breast, two cans of petite diced tomatoes, olive oil, salt, pepper, oregano, crushed red pepper flakes, Parmesan cheese, and no yolk egg noodles.


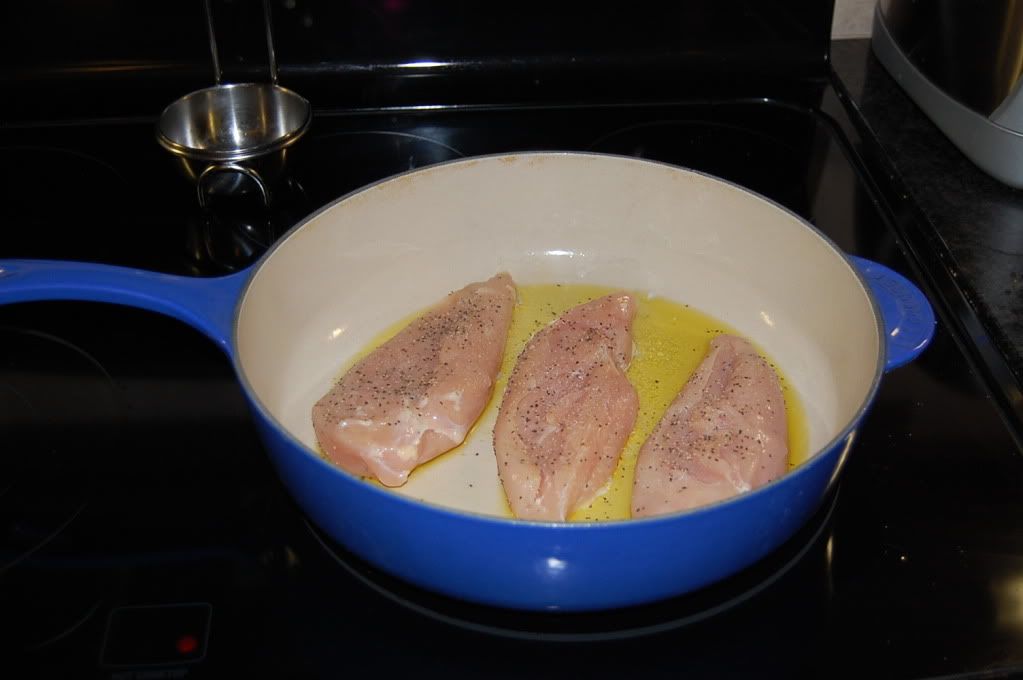
Preheat the oven to 350 degrees. While the oven is preheating, drizzle about 2 tablespoons of olive oil into a skillet. Heat on medium high. Salt and pepper the chicken and place in the skillet. Just leave the chicken on a few minutes and then turn several times. Leave it on just enough to cook each side a bit. Place the chicken in a pan in the oven. Plan to cook the chicken about 30-35 minutes in the oven.


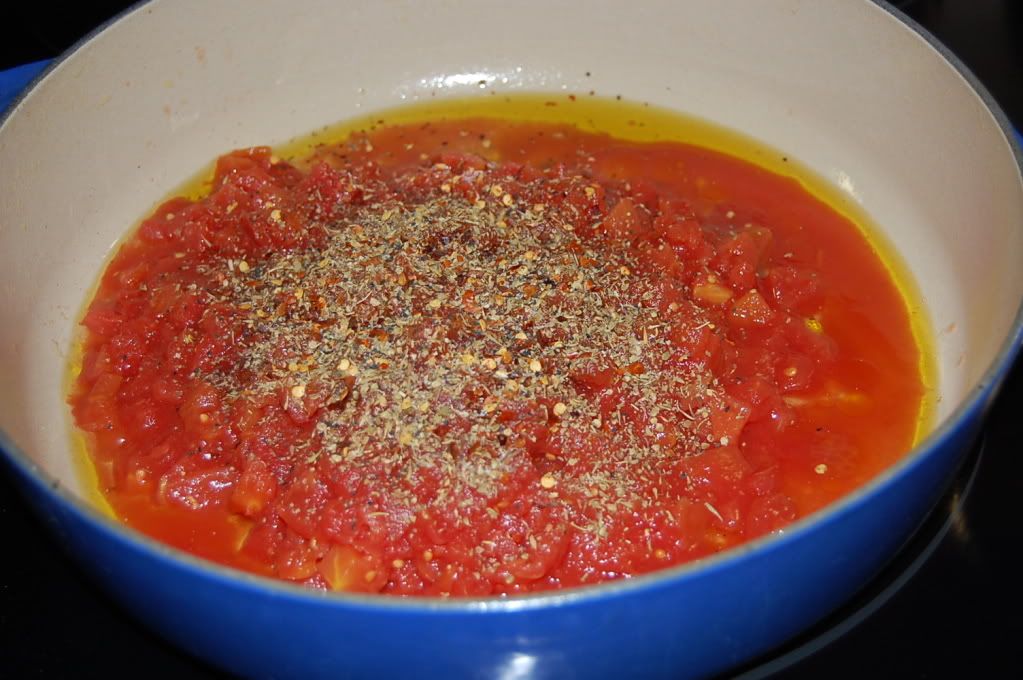
Next, put the diced tomatoes, several dashes of oregano, salt, pepper, and red pepper flakes in the skillet. Be sure to go ahead and cook the noodles now too. Warm up the tomato mixture on high. Let it boil a bit and then turn down to simmer for about 5 minutes or so. Then, throw in about 1 cup or so of the Parmesan cheese into the skillet so that it can melt into the tomato sauce. Now, assemble the dish with noodles, chicken and a large helping of the tomato mix. Enjoy!

Cheeseburger Wraps


I made these for Saturday night and they were a hit! I adapted the recipe from http://www.skinnymomskitchen.com/ . On her site, she has the nutritional information. But, we calculated that each wrap was about 8 Weight Watchers points and is under 400 calories each.


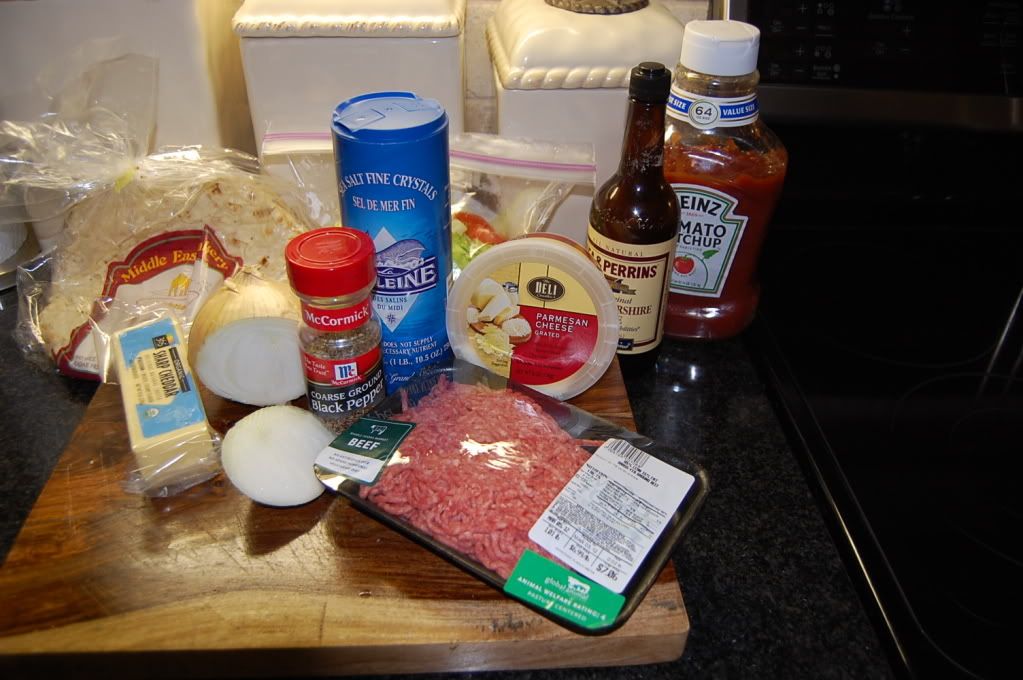
Here is what you need to get started. One pound of ground beef, 4 of the 100 calorie (or less) wraps (I used lavash), a small handful of diced onions, ketchup, Worcestershire sauce, salt, pepper, Parmesan cheese, lettuce, tomatoes and the cheese of your choice (I used sharp cheddar slices).


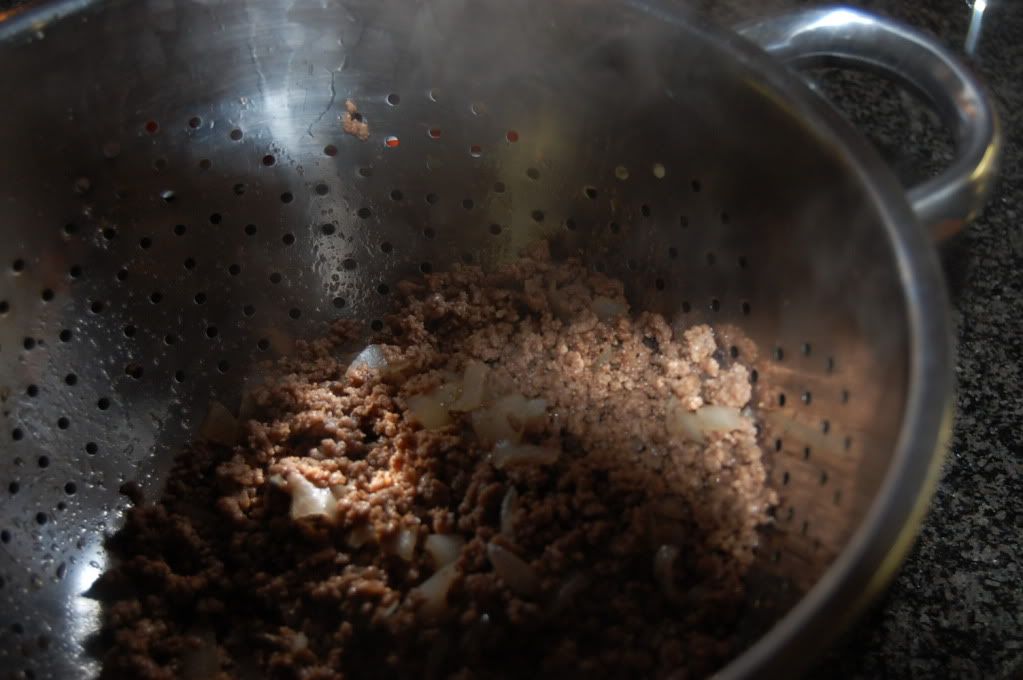
Brown your ground beef, place some diced onions in with the ground beef, and brown until almost done. Then, throw in about a tablespoon each of the Parmesan cheese, Worcestershire sauce, and ketchup. Then, put in some dashes of salt and pepper. Brown the beef until done and then drain the mixture.


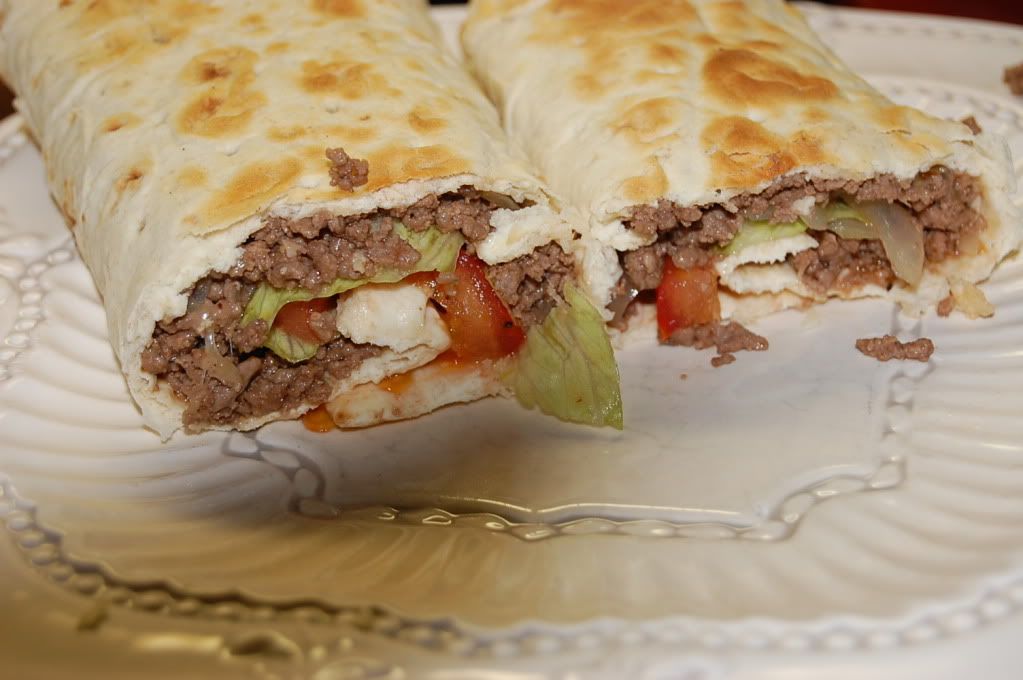
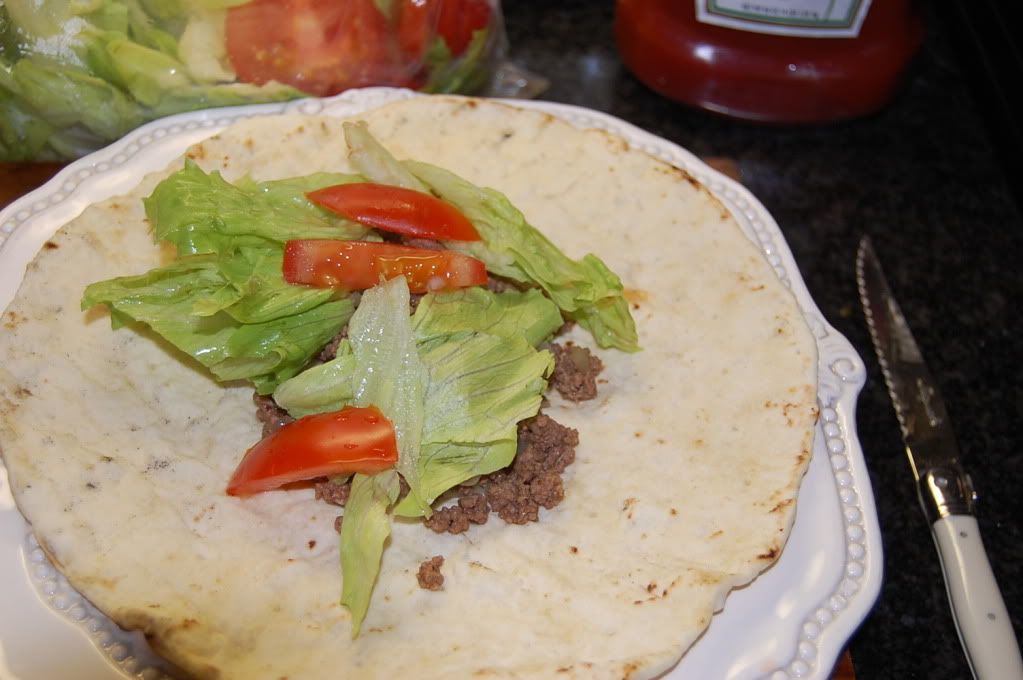
Now, you are ready to assemble them. Place a few slices of cheese in the middle of the wrap and then 1/4 of the beef onto each wrap. Then, place some lettuce and tomato on top. You can add ketchup and mustard on top, if you wish.


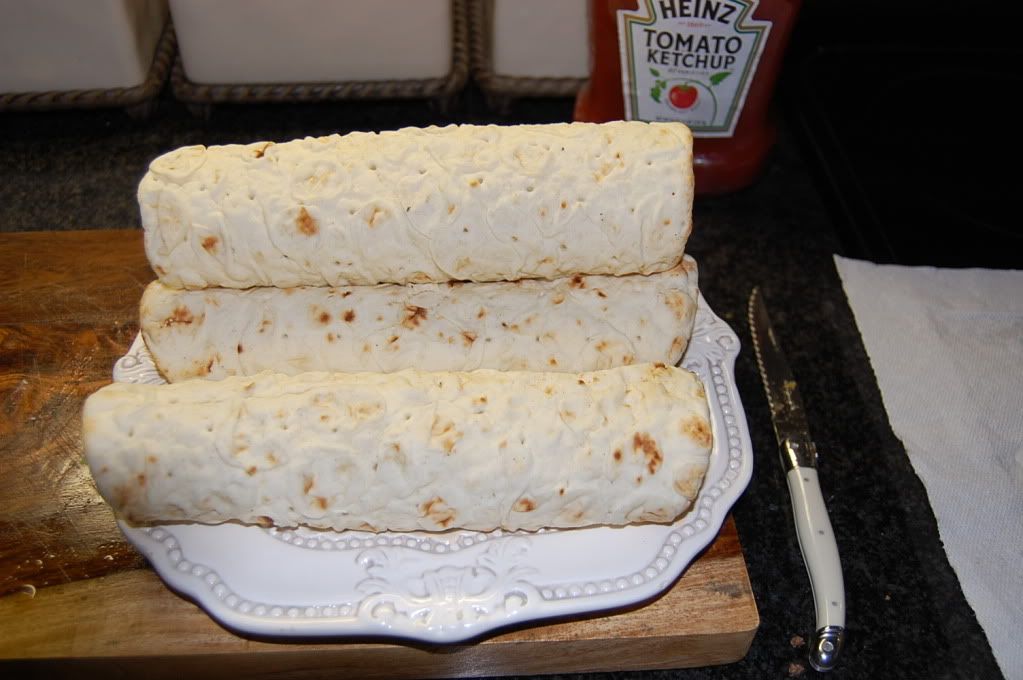
Now, roll them each up. Place them in the oven under the broiler for about 5 minutes or so each. This lets the cheese melt. Now, enjoy!!

Sunday, February 26, 2012

The Inaugural Honey Gram: Brie Puffs and Friends


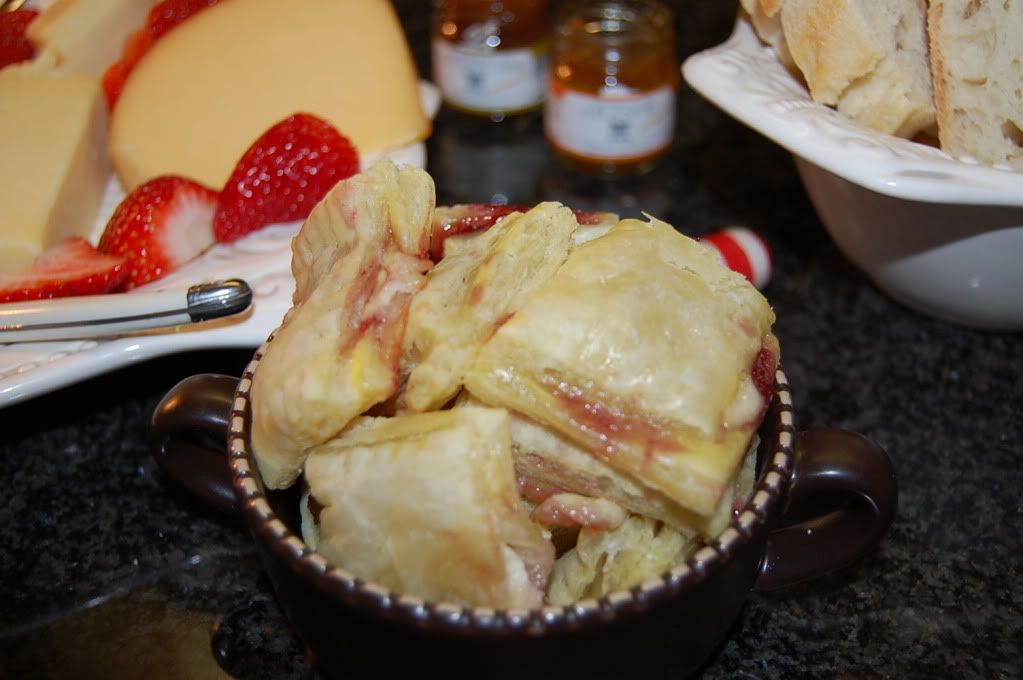
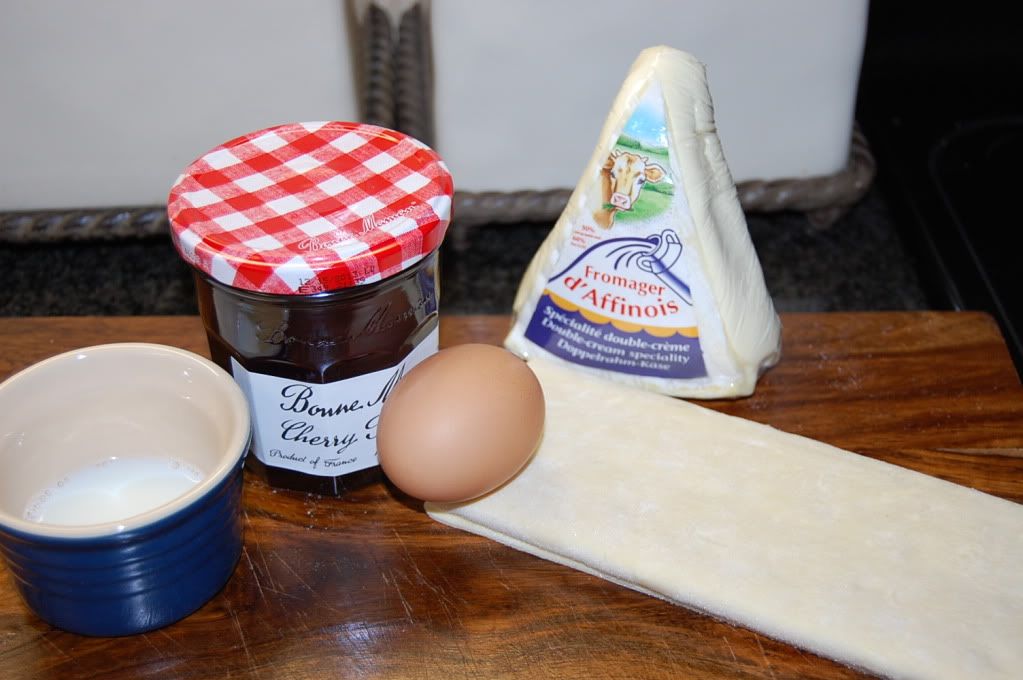
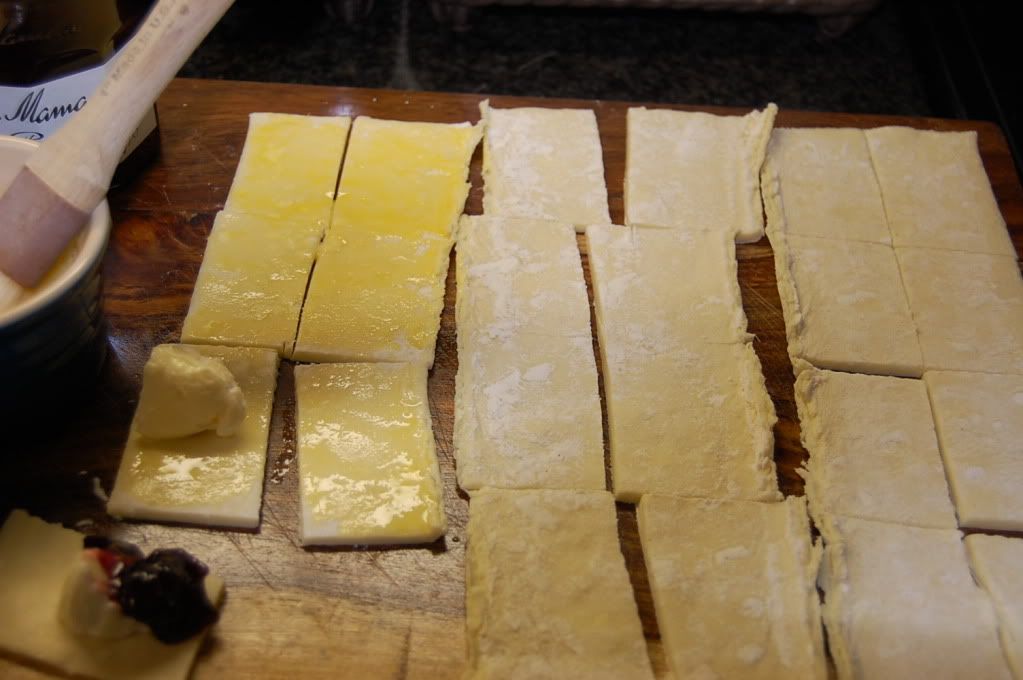
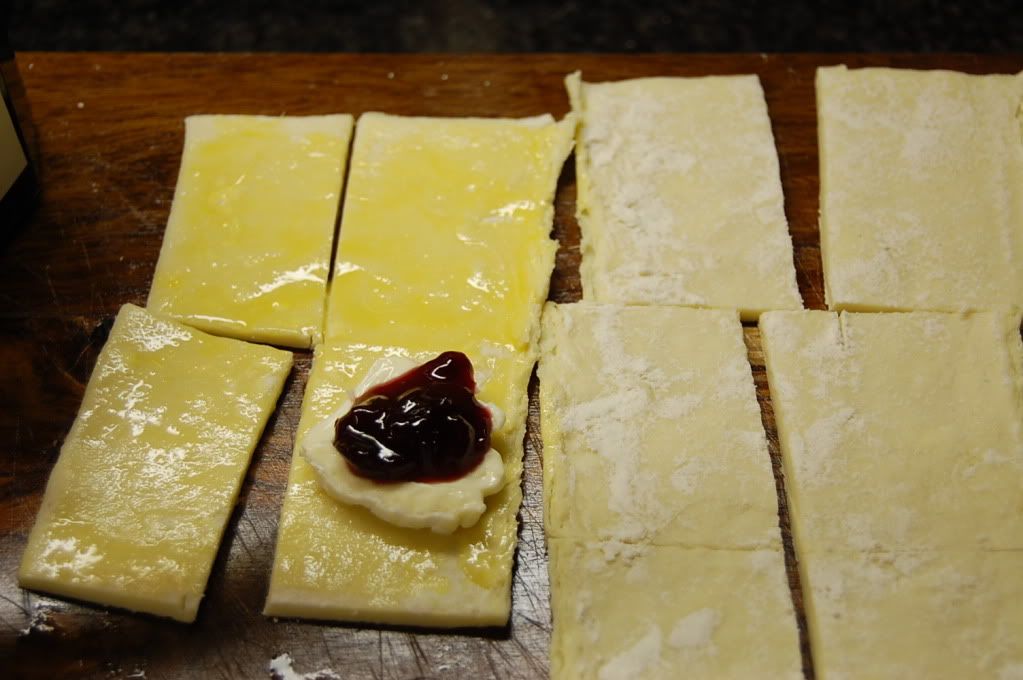
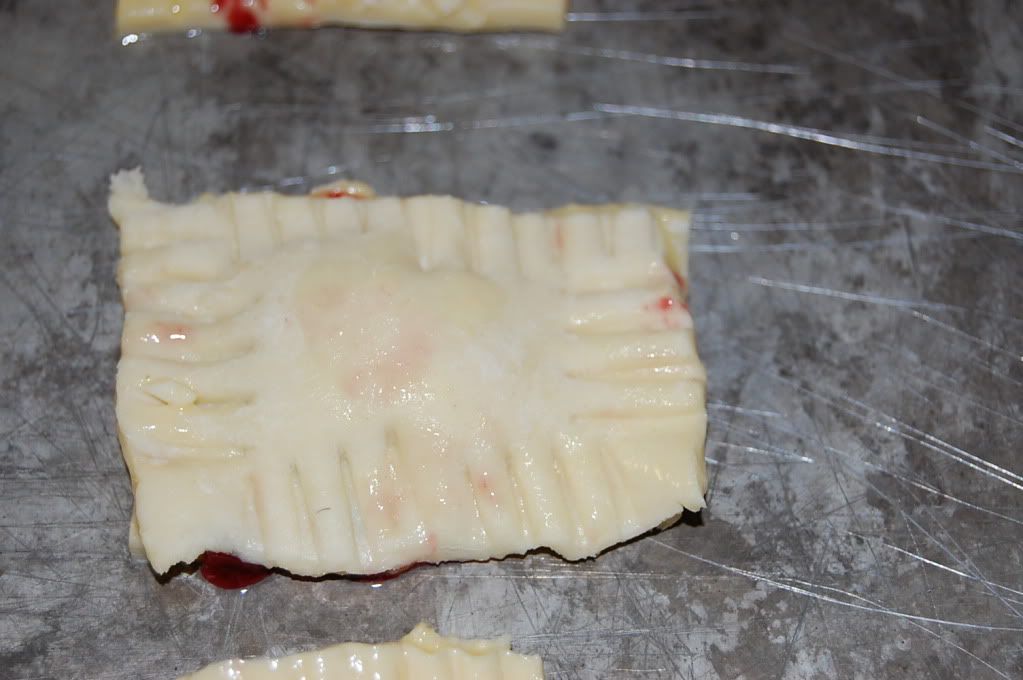
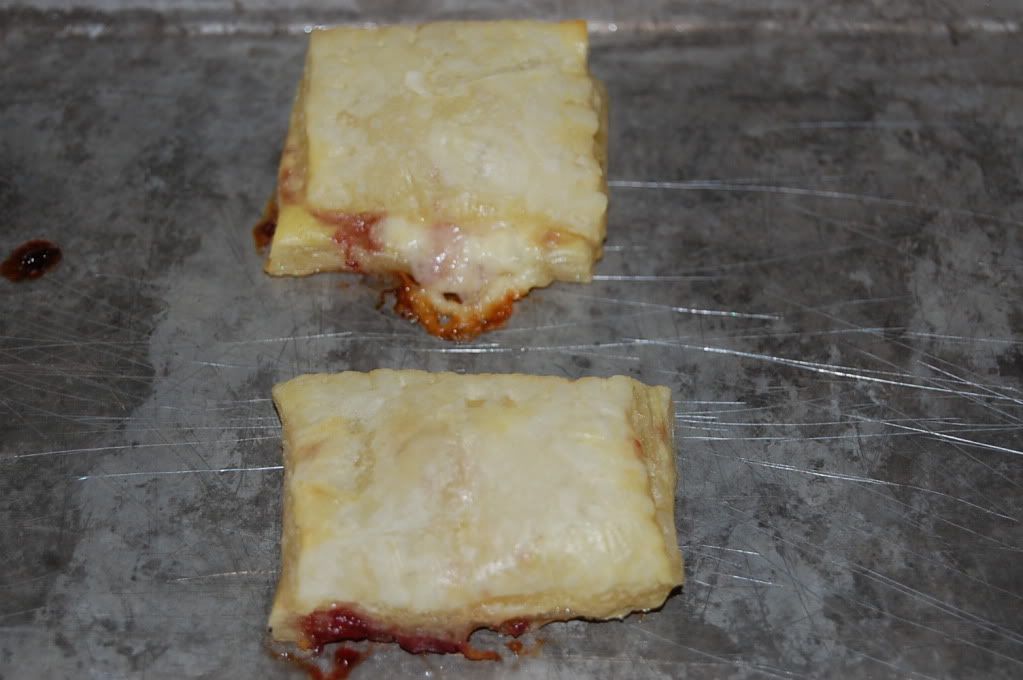
Last night, we had a few friends over. I decided to try out these new brie bites I found on http://www.joythebaker.com/. She was voted best baking blog of 2011. She also has many recipes that are not just in the baking genre. She has soups and gluten-free recipes and many wonderful ideas, generally. She also has a new cookbook coming out this week. I do not know her, but love her website. She makes her "brie bites" with popsicle sticks. I didn't have any on hand but they came out really well. And, I dare say, I should have made more. They were devoured. So, here it goes.You will want one egg, a tiny bit of milk, one sheet of puffed pastry, cherry preserves, and some brie or brie-like cheese. Go on and pre-heat your oven to 375 degrees, whisk together your egg and milk, get out a cookie sheet, and spray on some non-stick spray.Next, cut the puffed pastry into three rectangles (easy since the sheet of pastry is already stored in a tri-fold in the package). Then cut each rectangle into 8 square/rectangle pieces. Take your pastry brush and brush the egg wash on the top of each piece. This will give you a total of 24 small pieces (which will make 12 brie puffs).Next, place a small piece of the cheese on top of the 12 pieces of the egg-washed side of pastry and top that with a small drop of the preserves.Next, put one piece of pastry on top of one piece with the cheese and preserves. Press a fork on the ends of each side (the wash acts like the glue holding the puff together). Now, bake at 375 degrees for 12-14 minutes and .......

VOILA! Brie puffs. I know they don't look pretty, but they taste so good. And, I will get better with presentation as time goes by. But, here is the REAL star of the night.....

Isn't he handsome!!!!!????? We were thrilled to get to hang out with T and his Mom and Dad.

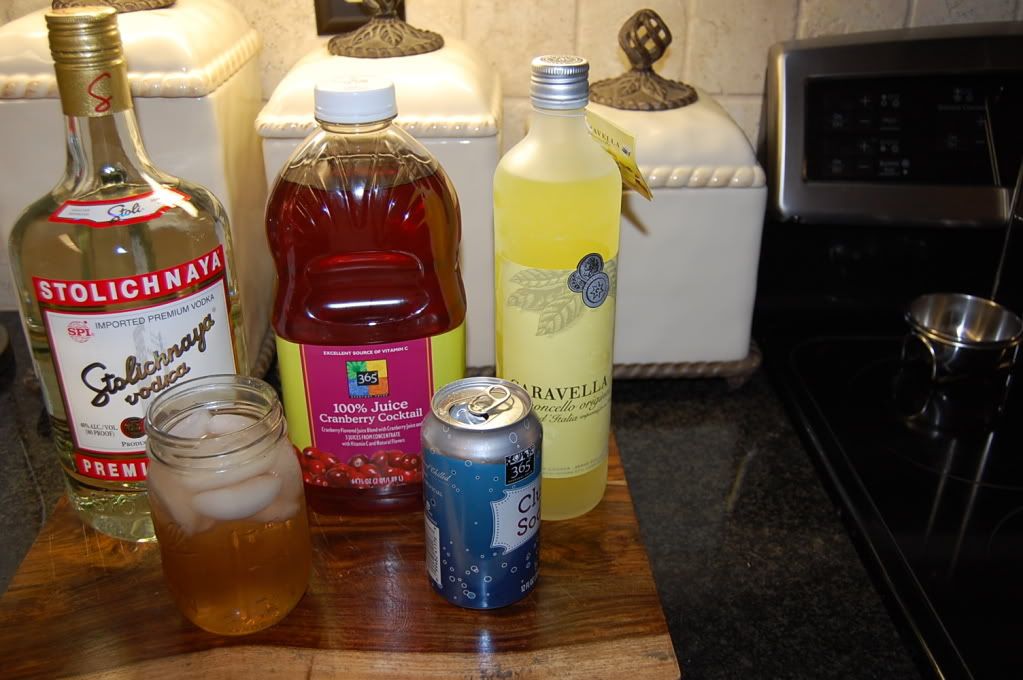
Of course, there were drinks!

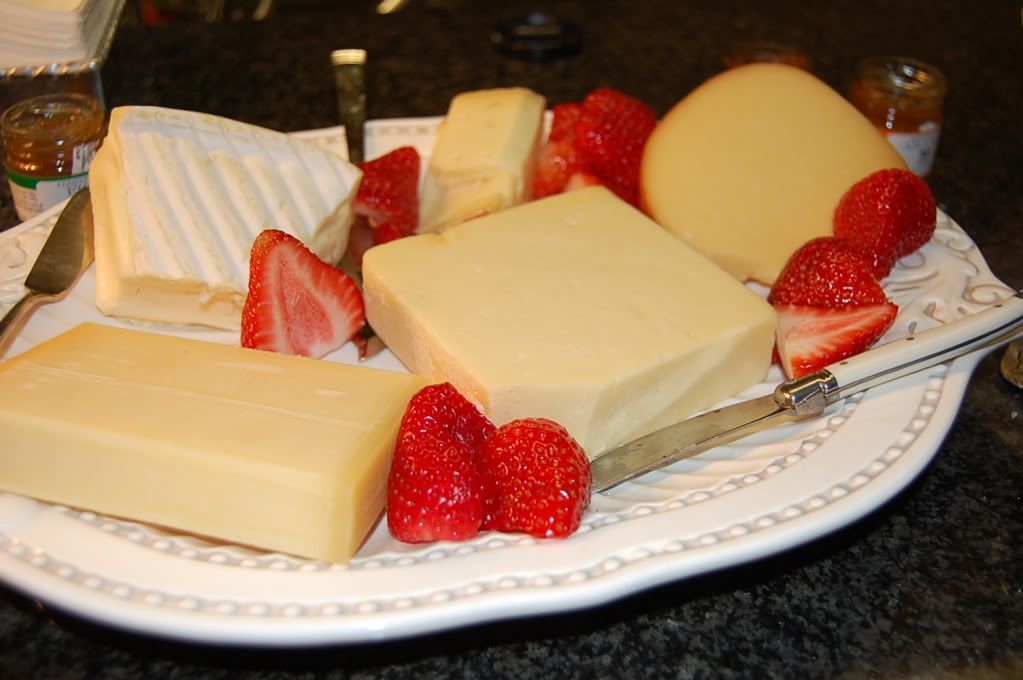
And CHEESE!
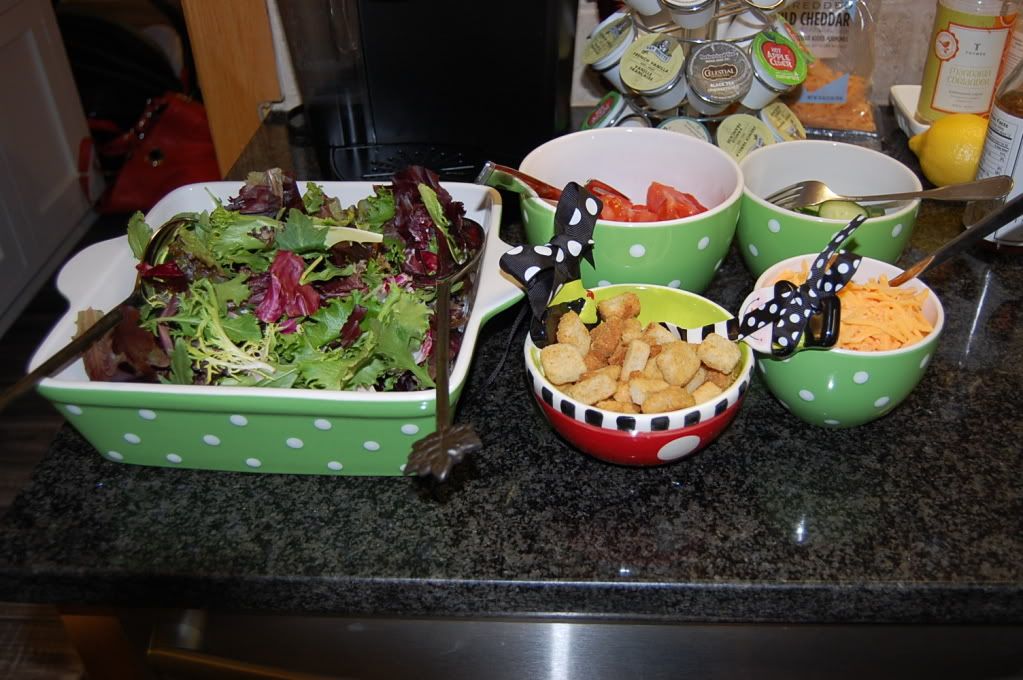
A little salad station was enjoyed.
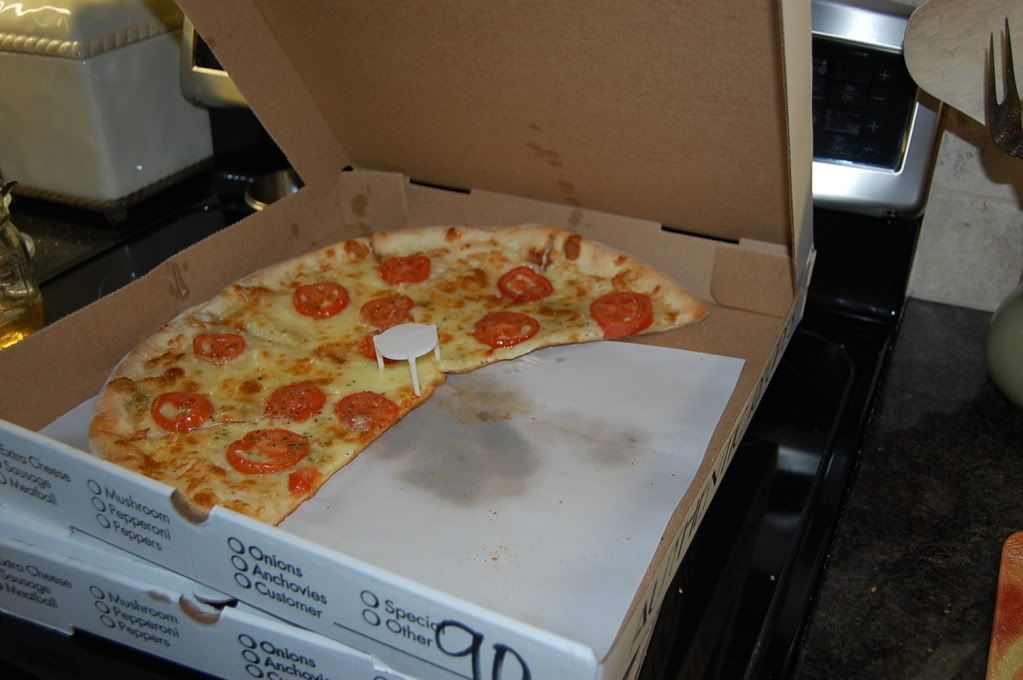
Some local delivery pizza and, of course.....
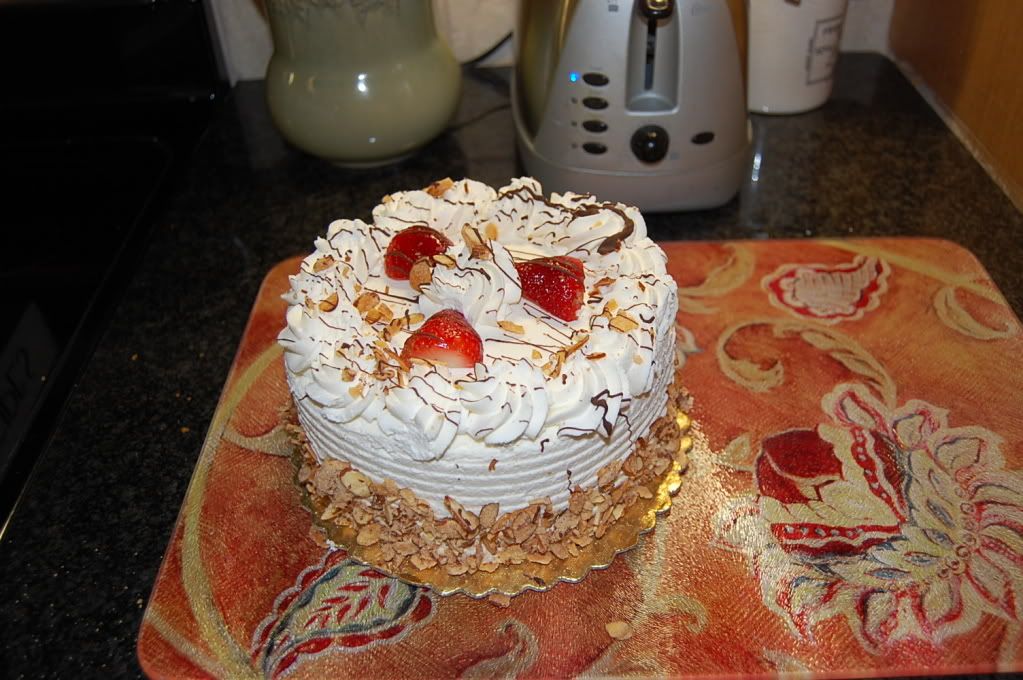
Some strawerry and cream cake from Whole Foods! Cut me some slack, the brie puffs were about all I could muster after working most of the day. I can really cook a whole meal. I will show you one of these days. But, then again, isn't this really the BEST part......
T and his little attempt at a sign for PEACE.